Run NixOS on the Turing Pi
Setup
- Turing Pi: v2.4
- Compute Modules: CM4008032
- BMC Firmware: 2.0.5
- OS: NixOS 24.05
Summary
NixOS will be installed on the eMMC of the Raspberry Pi CM4008032, which will serve as one of the nodes on the Turing Pi. To begin, ensure that the Raspberry Pi is inserted into the first node of the Turing Pi. If it’s not already in place, follow these instructions.
Flash the NixOS image
To begin, power on the Turing Pi v2.4 and access the user interface (UI) by navigating to either https://turingpi/ or https://turingpi.local/. However, it’s important to note that your local network might block mDNS broadcasts, as stated in the BMC User Interface documentation, preventing access through these URLs. If you encounter this issue, as I did, you’ll need to find the IP address of your Turing Pi manually and use it to access the BMC UI. Typically, if you’re on a local network, the IP address will resemble something like https://192.168.1.x. To streamline this process, consider assigning a static IP address to the Turing Pi. This eliminates the need to search for the IP address each time you reboot the system.
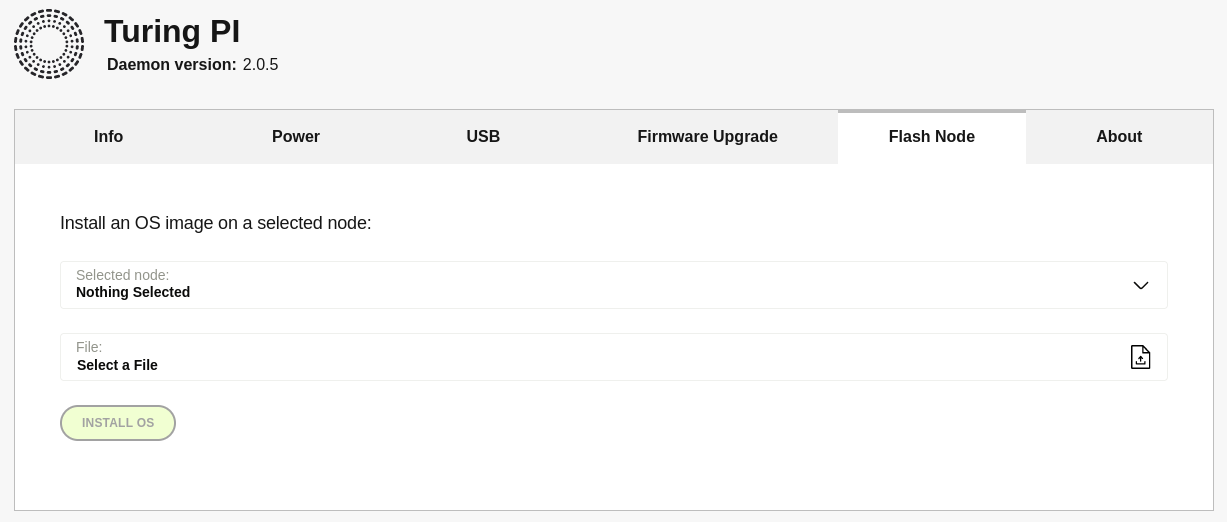
The BMC UI encompasses various tabs, each serving a distinct purpose. These tabs include Info, Power, USB, Firmware Upgrade, Flash Node, and About. Upon selecting the Flash Node tab, you’ll encounter a dropdown list where you can choose a specific node. Beneath this dropdown menu you will find a file upload zone, allowing you to upload your desired operating system image.
The operating system chosen for installation on the CM4 modules is NixOS. The latest NixOS image can be downloaded from Hydra. While the NixOS version is typically indicated in the image name, it’s important to note that this information may not always be accurate. To ensure the correct NixOS version, it’s advisable to execute the nixos-version command after installing the OS on the CM4. If the image has the .ztsd extension, it is compressed. To decompress the image use the following command:
1
foo@bar:~$ unzstd -d nameOfTheCompressedImage
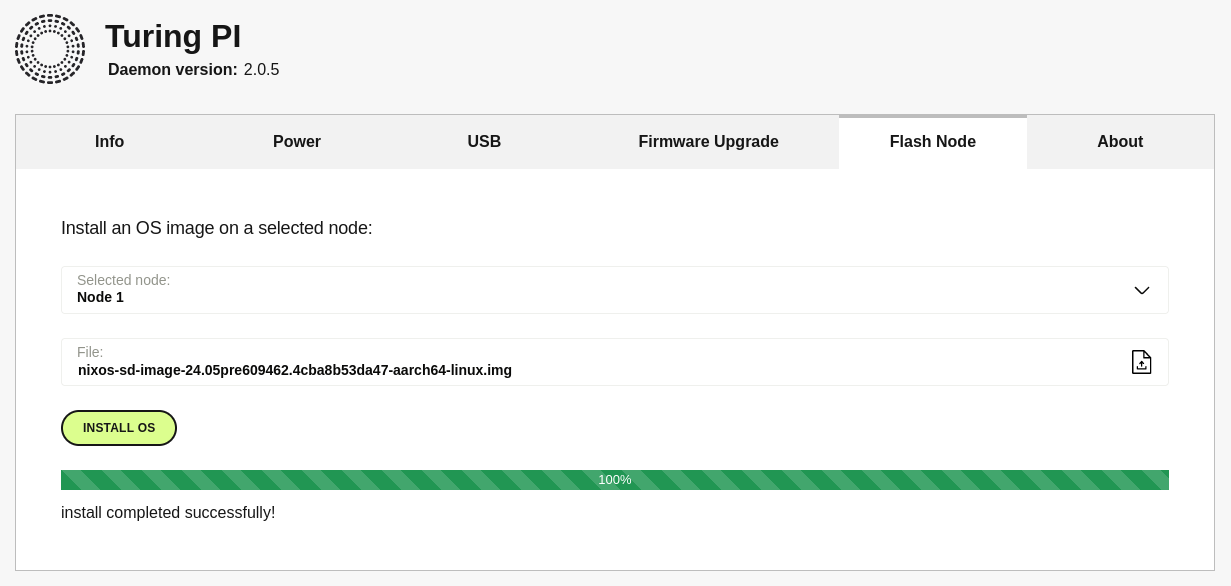
After decompressing the image, select the node you wish to flash and upload the NixOS image. Then, click on ‘Install OS’. A pop-up window will appear, seeking confirmation to proceed as you are about to overwrite a new image onto the selected node. Click on ‘Continue’ to proceed. A progress bar will appear, visualizing the flashing process. It’s important to note that flashing can take up to 35 minutes. Upon completion, you should see the following message:
Login to NixOS
By default, the NixOS image does not allow SSH login, and since it’s a basic installation, you need to generate or add the configuration.nix file. Regardless of the chosen method, accessing the command line in NixOS is essential. To accomplish this, we utilize the tpi tool, which comes pre-installed with the BMC firmware. The BMC, a microcontroller integrated into the Turing Pi, operates on a Linux OS, enabling control over the different nodes. Accessing the BMC is possible through SSH, using the same IP address as the one used for accessing the BMC UI.
1
foo@bar:~$ ssh root@192.168.1.x
You will be prompted to enter the password for the root user, which is turing by default. Once the flashing process is complete, the node will be powered off. To power on the node, you can either use the BMC UI or, if you’re logged into the BMC, use the following command:
1
# tpi power -n 1 on
Regardless of the method chosen to create the configuration.nix file, it’s crucial to power on the node beforehand. Failing to do so before mounting the node as a Mass Storage Device (MSD), as explained in the next section(s), may result in missing directories that are part of a default installation. Furthermore, without powering on the node, executing commands through tpi uart is not possible. Although the response code may indicate success (i.e. ok), the system being powered off means commands won’t be executed. The tpi uart command is essential for generating the default configuration.nix file.
Generate a default configuration.nix
After powering on the node, you can generate a default configuration.nix file by executing the following command:
1
# tpi uart -n 1 set --cmd "sudo nixos-generate-config"
To confirm that the command has been executed successfully, you can run the following command:
1
# tpi uart -n 1 get
The result should resemble the following:
1
2
3
4
5
foo@bar:~$ sudo nixos-generate-config

writing /etc/nixos/hardware-configuration.nix...
writing /etc/nixos/configuration.nix...
For more hardware-specific settings, see https://github.com/NixOS/nixos-hardware.
The BMC facilitates the execution of serial commands to each node using the tpi uart command. Since SSH login is not possible initially, this method allows us to generate the configuration.nix file and set up SSH access. To view the configuration.nix file, you can mount the filesystem of the node as a Mass Storage Device (MSD). Follow the steps outlined in Accessing nodes’ filesystems but mount /dev/sda2 instead of /dev/sda1. Additionally, consider using a mounting point like /mnt/nixos instead of /mnt/raspios for clarity. Once mounted, you can view the configuration.nix file as follows:
1
# nano /mnt/nixos/etc/nixos/configuration.nix
Here, you can add the appropriate settings to allow SSH logins.
1
2
3
4
5
6
7
networking.hostName = "tp-node1";
services.openssh = {
    enable = true;
    ports = [43567];
    settings.PasswordAuthentication = false;
};
users.users.root.openssh.authorizedKeys.keys = ["public key goes here"];
The additional settings configure the host name to ‘tp-node1’, enable SSH, change the SSH port to 43567, disable password authentication, and set a public key for the root user. This configuration allows us to log in as root using an SSH key. It’s a recommended practice to avoid using the default port 22 for SSH because it often experiences numerous malicious login attempts. When changing the port, ensure it doesn’t conflict with other applications by referring to the list of registered ports. After configuring SSH, you can skip the next section and proceed to SSH into NixOS.
Create manually a configuration.nix
Since the generated configuration.nix file is quite elaborate and a lot of settings are placed in comment I like to start from a clean sheet and write my own configuration.nix file. To create a custom configuration.nix file, begin by powering on the node and then follow the steps outlined in Accessing nodes’ filesystems. Mount /dev/sda2 instead of /dev/sda1, and consider using a mounting point like /mnt/nixos for clarity. Once mounted, you can create the configuration.nix file as follows:
1
# nano /mnt/nixos/etc/nixos/configuration.nix
The minimal configuration that we will use is derived from this NixOS tutorial and looks like this:
1
2
3
4
5
6
7
8
9
10
11
12
13
14
15
16
17
18
19
20
21
22
23
24
25
26
27
28
{pkgs, ...}: {
  boot = {
    kernelPackages = pkgs.linuxKernel.packages.linux_rpi4;
    initrd.availableKernelModules = ["xhci_pci" "usbhid" "usb_storage"];
    loader = {
      grub.enable = false;
      generic-extlinux-compatible.enable = true;
    };
  };

  fileSystems = {
    "/" = {
      device = "/dev/disk/by-label/NIXOS_SD";
      fsType = "ext4";
      options = ["noatime"];
    };
  };

  networking.hostName = "tp-node1";
  services.openssh = {
    enable = true;
    ports = [43567];
    settings.PasswordAuthentication = false;
  };
  users.users.root.openssh.authorizedKeys.keys = ["public key goes here"];
  system.stateVersion = "24.05";
}
SSH into NixOS
After saving your changes to the configuration.nix file, ensure that you unmount the filesystem and reboot the node. Then, you can perform a nixos-rebuild switch.
1
# tpi uart -n 1 set --cmd "sudo nixos-rebuild switch"
Once the rebuild is completed successfully, you’ll be able to log in through SSH on the port specified in the configuration.nix file using the private key corresponding to the public key added to the configuration.nix file. To obtain the IP address of the node, you can log in to your router and check which IP address is assigned to the host with the name tp-node1. Alternatively, if the node is powered on, you can execute the following commands:
1
2
3
4
5
6
7
8
9
10
11
12
13
14
15
16
# tpi uart -n 1 set --cmd "ip address"
ok
# tpi uart -n 1 get
ip address
1: lo: <LOOPBACK,UP,LOWER_UP> mtu 65536 qdisc noqueue state UNKNOWN group default qlen 1000
    link/loopback 00:00:00:00:00:00 brd 00:00:00:00:00:00
    inet 127.0.0.1/8 scope host lo
       valid_lft forever preferred_lft forever
    inet6 ::1/128 scope host noprefixroute
       valid_lft forever preferred_lft forever
2: end0: <BROADCAST,MULTICAST,UP,LOWER_UP> mtu 1500 qdisc mq state UP group default qlen 1000
    link/ether d8:3a:dd:9f:52:3e brd ff:ff:ff:ff:ff:ff
    inet 192.168.1.107/24 brd 192.168.1.255 scope global dynamic noprefixroute end0
       valid_lft 258003sec preferred_lft 225603sec
    inet6 fe80::da3a:ddff:fe9f:523e/64 scope link
       valid_lft forever preferred_lft forever
Now that you know this node has the IP address 192.168.1.107, you can use SSH to log in to this node:
1
foo@bar:~$ ssh -p 43567 root@192.168.1.107
Aaaaaaand you’re done!
Resources
[1] Installing Raspberry Pi CM4 onto a Turing Pi 2 cluster board
[2] Turing Pi BMC UI
[3] NixOS SD image AArch64 Linux
[4] TPI overview
[5] TPI accessing nodes filesystems
[6] List of TCP and UDP port numbers - Registered ports
[7] Installing NixOS on a Raspberry Pi
[8] Turing Pi Discord server - UART use with CM4?
[9] NixOS on ARM/Raspberry Pi
[10] NixOS on ARM/Installation
[11] NixOS on ARM/Initial Configuration

